Wednesday, December 11, 2013

Button Christmas Wreath


I love buttons.
New buttons, old buttons, vintage buttons, colorful buttons ...
I've never met a button I didn't love.
Even the plain & simple ones serve a purpose.

There's a good 10 {or 57} of these type projects featured on blogs & on Pinterest, to be sure, 
but hey, what's another one to add to the mix, right?

Here's my take on a Button Wreath in a Distressed Shabby Frame.
{Did you know you can distress old frames by using a bar of soap? 
Click HERE to see just how easy it is!}


OK -- this is so simple it really needs no instruction, but here's what I did:

After taking apart the frame, I covered the original painting{a Goodwill find that cost a couple bucks}
with a green piece of material.
I stretched it securely & hot glued it on the back.


Now to the fun part ... picking out all the buttons!


It's really trial & error here until you find the look that suits you.
{I thought about framing it out with burlap, but decided against it.
That's why the burlap is laying on each side -- just seeing how it would look.}


I think it's finally just how I want it.
Now for hot gluing them on -- just remove a few at a time, put down a bit of hot glue
& stick them back where you had them.


And to finish it off ...a little shabby bow on top!


I made this for a sweet friend who loves buttons just as much as I do.
I only wish I had made another one for myself ;)

~Merry Christmas from Call Her Blessed~


~~~~~~~~~~~~~~~~~~~~~~~~~~~~~~~~~~~~~~~~~~~~~~~~~~~~~~~~~~~~~~~~~

Who doesn't love a party?!
You can find me here linking up with these great blogs.

Monday         Make It Yourself Monday        The Better Mom       C.R.A.F.T     
Tuesday    A Bowl Full of Lemons    Titus Tuesday      A Stroll Through Life
Wednesday   Raising Homemakers        Savvy Southern Style         Adorned From Above
                   Women Living Well    The Thrifty Home     A Wise Woman Builds Her Home
Thursday    Making Home Base      Serving Joyfully     Lamberts Lately
Friday     French Country Cottage   The Thrifty Groove      Farm Blog Hop
Sunday    Nifty Thrifty Things    Suburbsmama    Sew Many Ways

Monday, December 9, 2013

Christmas Tree from Scraps & Burlap


I am in love with this little scrappy & burlappy framed Christmas tree!
I was feeling crafty & this is the end result.


Here's how easy it was:
First, choose your frame.
I started with one of the frames that I distressed with soap & spray paint.
If you didn't catch the easy how-to instructions for that on my previous post, check it out here.


Next, remove the backing & hot glue on whatever fabric you want for the background.


I decided to go with burlap.


Next you'll replace the frame & fastened it accordingly.
The glass isn't needed for this project, so do with it as you like.


Now to the choosing of the fabric for the scrappy Christmas tree...
I wanted to work with browns & tans, as I made this as a gift for my friend Jody.
I was inspired by the colors of her kitchen remodel & I thought she may want to sit this on her cabinet ledge.


I cut/tore my fabric into small squares, roughly based on the size I envisioned for the tree.


Finally, I began arranging them on the burlap until I got them just right, & then hot glued them on.
I glued just at the top of the fabric squares so the bottom would be loose, 
fluffing out to give some dimension.


And last but not least, every tree needs a topper!
And since rosettes {Shabby Bowtique} are what I do, it was a given. 
The addition of the brown feathers finished it off perfectly.


And you know what's great about this project?
You still have time to put one together before Christmas gets here!


~~~~~~~~~~~~~~~~~~~~~~~~~~~~~~~~~~~~~~~~~~~~~~~~~~~~~~~~~~~~~~~~~~~~~


Who doesn't love a party?!
You can find me here linking up with these great blogs.

Monday         Make It Yourself Monday        The Better Mom       C.R.A.F.T     
Tuesday    A Bowl Full of Lemons    Titus Tuesday      A Stroll Through Life
Wednesday   Raising Homemakers        Savvy Southern Style         Adorned From Above
                   Women Living Well    The Thrifty Home     A Wise Woman Builds Her Home
Thursday    Making Home Base      Serving Joyfully     Lamberts Lately
Friday     French Country Cottage   The Thrifty Groove      Farm Blog Hop
Sunday    Nifty Thrifty Things    Suburbsmama    Sew Many Ways

Saturday, December 7, 2013

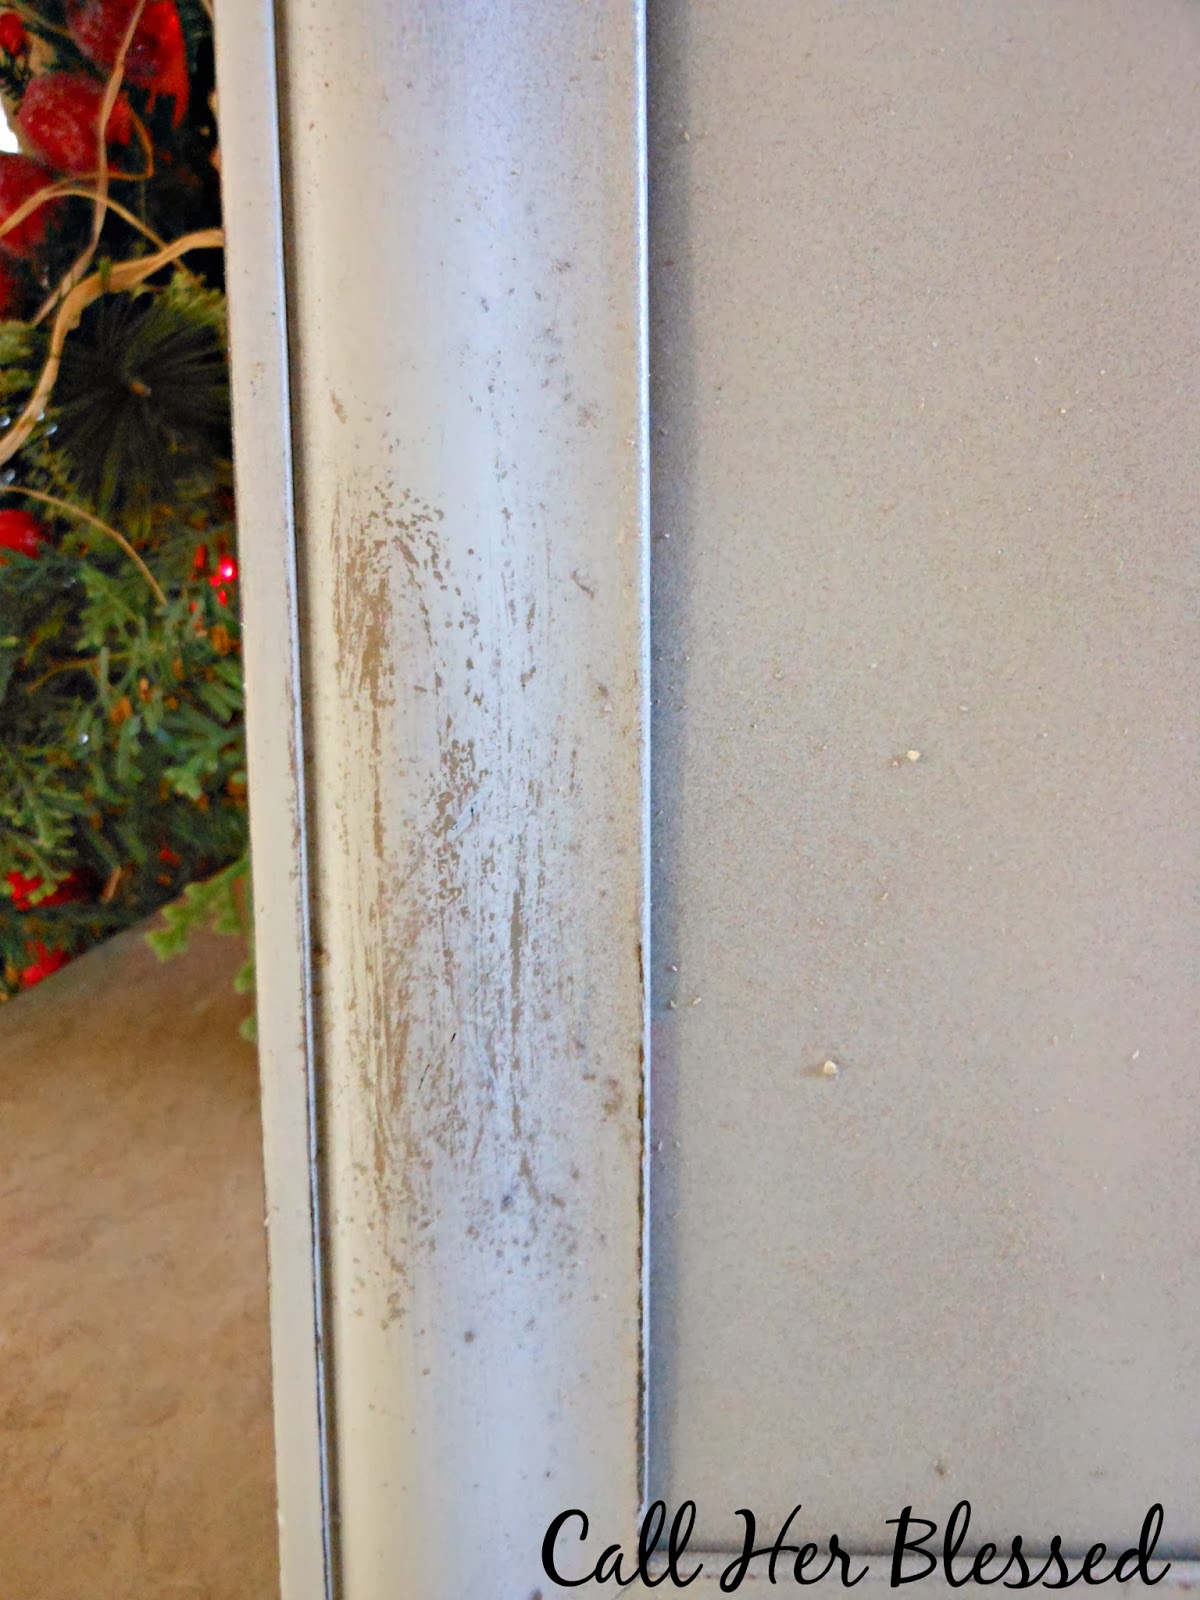
Distressing Frames with Soap & Spray Paint

There are so many paint treatments out there these days.
Take a look on Pinterest & you'll find more options than you can shake a stick at.
I decided I'd give a few of them a try, starting with this one:
the bar of soap, sandpaper, & spray paint treatment.

I started with an odds & ends assortment of frames purchased at Goodwill.

After taking them apart, down to the frame only, I rubbed the bar of soap on the parts
of the frame where I wanted the original wood to show through.
By rubbing the soap on the frame, the paint kinda bubbles up & sands off very easily.

{This is similar to the vaseline paint treatment which I also tried on another project --
I am so behind on telling/showing you these things!  Bad blogger.
I'll show you soon, promise.}


After rubbing with the bar of soap, I spray painted my frames ...
& when they were thoroughly dried, I used a piece of sandpaper & lightly sanded here & there ...
especially where the soap was.
The paint just peels right off in those areas leaving a perfectly distressed look!


I love it.
And old, out-dated Goodwill frame given a new look.
And it's my favorite look, at that:  distressed shabby perfectness.


Stay tuned.
Tomorrow, I'll show you what I did with these frames after they were all painted.


~~~~~~~~~~~~~~~~~~~~~~~~~~~~~~~~~~~~~~~~~~~~~~~~~~~~~~~~~~~~~~~~~~~~~~~

Who doesn't love a party?!
You can find me here linking up with these great blogs.

Monday         Make It Yourself Monday        The Better Mom       C.R.A.F.T     
Tuesday    A Bowl Full of Lemons    Titus Tuesday      A Stroll Through Life
Wednesday   Raising Homemakers        Savvy Southern Style         Adorned From Above
                   Women Living Well    The Thrifty Home     A Wise Woman Builds Her Home
Thursday    Making Home Base      Serving Joyfully     Lamberts Lately
Friday     French Country Cottage   The Thrifty Groove      Farm Blog Hop
Sunday    Nifty Thrifty Things    Suburbsmama    Sew Many Ways


Sunday, November 24, 2013

Butter Rum Bon Bons


Decadence ... all in one little bite.


And they are as easy as can be.
You can make your bon bons & eat them too.


It all starts with a box cake mix & a tub of cream cheese frosting.
I'm serious.
{Ok, so this recipe wins no awards from the health dept ...
but it's the holidays ... live a little!}


And without further ado, let the bon bon making begin.


Here's the recipe.

Ingredients:

  • 1 box butter pecan cake mix, and ingredients to make the cake
  • 1 Tbsp. rum extract {more or less, depending on your love of rum flavoring}
  • 1 can (16 oz) prepared cream cheese frosting
  • 1 lb candy coating, white or dark chocolate

Prep:

Prepare {and bake} the butter pecan cake mix according to the directions of the package for a 9x13 cake,
adding in the rum extract. Once baked, allow the cake to cool completely.

Crumble the cake into a large bowl until it is in small pieces.
Spoon the frosting into the bowl and stir until the mixture is well-combined.

Using a small cookie scoop, scoop out balls of cake and roll until they are round.
Place the cakes balls on a baking sheet covered with wax paper, and refrigerate/freeze them
while the candy coating is being prepared.

Place the candy coating in a microwave-safe bowl and microwave it until melted,
stirring after every 30 seconds to prevent overheating.
Using a fork, toothpick or dipping tools, dip the cake balls in the melted candy coating, covering completely.
Place the dipped truffle back on lined baking sheet.

Refrigerate the truffles to set the coating completely, about 20 minutes.
These cake truffles are best served at room temperature.
{*These can be stored in an airtight container in the refrigerator for up to a week.}


~~~~~~~~~~~~~~~~~~~~~~~~~~~~~~~~~~~~~~~~~~~~~~~~~~~~~~~~~~~~~~~~~~~~

 Who doesn't love a party?!
You can find me here linking up with these great blogs.

Monday         Make It Yourself Monday        The Better Mom       C.R.A.F.T     
Tuesday    A Bowl Full of Lemons    Titus Tuesday      A Stroll Through Life
Wednesday   Raising Homemakers        Savvy Southern Style         Adorned From Above
                   Women Living Well    The Thrifty Home     A Wise Woman Builds Her Home
Thursday      The Shabby Creek Cottage     Serving Joyfully     Lamberts Lately
Friday    Happy-Go-Lucky     The Thrifty Groove      Farm Blog Hop
Sunday  Suburbsmama    Sew Many Ways


Tuesday, November 19, 2013

A Visit to the Apple Orchard


Welcome to one of our favorite places, The Apple Works!


We make several trips here during the year for the best apples around,
but the fall is our favorite time to visit.
Although we like {& buy} several varieties, the honey crisp apple is about as good as it gets.
You can move around the apple bins to sample slices of any variety imaginable,
so you can get just what you're looking for.


This trip was especially great because not only were we there as a family, all five of us,
but Garrett & Gunnar had their special girls along ... & that makes everything even more fun!
{Be warned ...this is a post full of pictures cause there was just too much beauty
& I didn't want to miss any of it ... & too many memories I wanted to capture.


This place is so much more than an orchard.
It's like the perfect combo of , well, everything.
The property is gorgeous, the little store is quaint & full of country goodies
{we buy fresh farm eggs here}, the workers are sweet, & often there is live singing.
There's a pumpkin patch, a petting zoo, a train ride, & a bamboo maze.
Just around every corner is a scenic place to take pictures, to stop & eat a caramel apple,
or sip on a cider slushy.


There's even a spot to stop & eat an apple dumpling with ice cream., which tastes so much sweeter
when you're with your best girl.


I love this branch of orange leaves, defiantly changing colors ahead of the rest.


It's just as gorgeous across the bridge.


I am in love with this picture ... & the man in it.
LOVE these colors & the leaves on the water.


Didn't even realize that both of my boys & their girls were in this shot at first.
Neato.


This little guy got the award of the day for 'CUTE'!


Wow!  Indiana is beautiful in the fall.


Wouldn't this is the perfect tree to pitch a tent under?


Hope you've enjoyed our Indiana fall foliage ... & if you get a chance, visit Apple Works.
Thanks for stopping by, sweet friends.


~~~~~~~~~~~~~~~~~~~~~~~~~~~~~~~~~~~~~~~~~~~~~~~~~~~~~~~~~~~~~~~~~~~~~

Who doesn't love a party?!
You can find me here linking up with these great blogs.

Monday         Make It Yourself Monday        The Better Mom       C.R.A.F.T     
Tuesday    A Bowl Full of Lemons    Titus Tuesday      A Stroll Through Life
Wednesday   Raising Homemakers        Savvy Southern Style         Adorned From Above
                   Women Living Well    The Thrifty Home     A Wise Woman Builds Her Home
Thursday      The Shabby Creek Cottage     Serving Joyfully     Lamberts Lately
Friday    Happy-Go-Lucky     The Thrifty Groove      Farm Blog Hop
Sunday  Suburbsmama    Sew Many Ways