Saturday, March 30, 2013

Spring in the Living Room


Spring has sprung ... finally.
In our living room, it's a mix of green, yellow, birds, & bunnies.


I won't talk a lot ... I'll just let you browse around.


 I've admired a pic just like this for several years at our Christian bookstore, but it was too big
& too pricey ... for my birthday, Garrett's sweet girlfriend, Carissa bought me this.
This one is just right ... it's the star of the show sitting on top of the armoire.


For some odd reason, I only took a pic of one side of the whole armoire pier.


And, I only took a pic of one end table.
What's my deal?! 


The front fabric 'pillow' ... well, the fabric is only pinned on.
I'm deciding what I think about it.
I've pretty much decided that I like it, so this will be my 1st ever sewing project 
on my new sewing machine that James bought me for Christmas.

 Isn't this new pillow whimsical & fun?


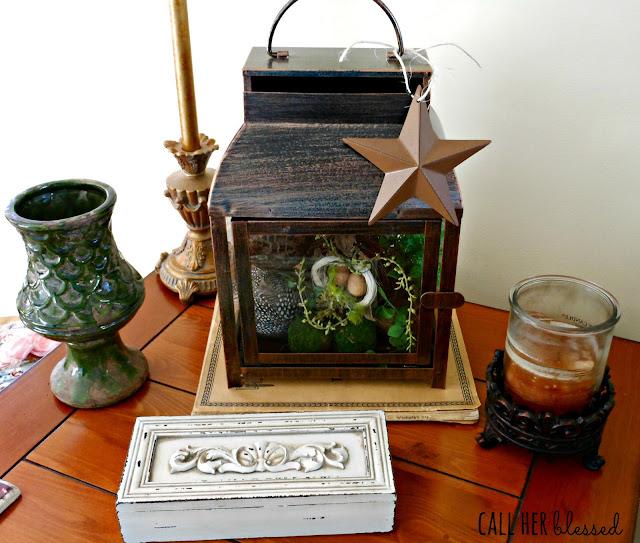
And this, boys & girls, is a sneak peek of my very favorite Spring vignette in the living room.
Tomorrow, I'll show you all the details.


partying at Savvy Southern Style
& a few other fabulous places {see blog buttons to the right}.

Wednesday, March 27, 2013

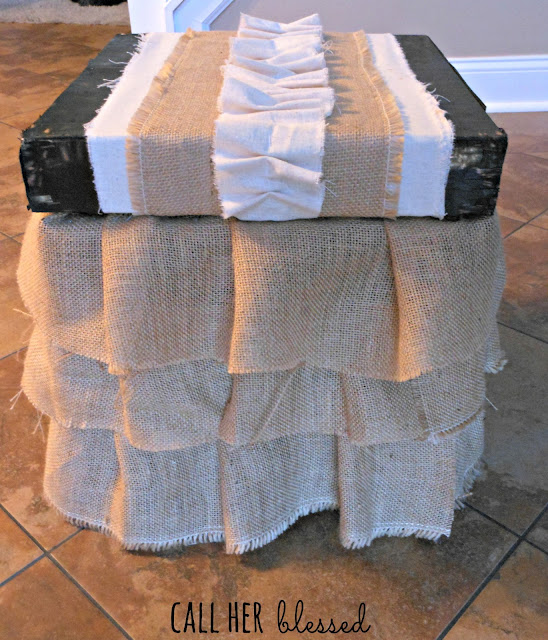
DIY Ruffled Burlap Ottoman

 I have this adorable little shabby ottoman & I'm pretty much in love with it.


I love that it's decked out in burlap & drop cloth ...
& that's it's chippy on the sides ...
& not too perfect.


 Course, the most perfect thing of all is that it's got RUFFLES.
That's what I'm talkin' bout.
That's where it's at, people.


 This little ottoman, at least 10 years old, has experienced it's share of wear & tear, to say the least.
It was ready for a make-over.
It had been covered over with a throw for too long.
So, without further ado, I cut down the center & begin peeling away!


 Next, I 'measured' out the burlap.
There was a whole lot of eye-balling involved.


 My handy-dandy electric stapler was the tool of choice.


 No rocket science to the ruffles ... just folded over & stapled.


The 2nd & 3rd strips of burlap, cut to match the first, were stapled on
in the very same fashion.


 And here is how it sat for a week as I pondered over how to cover the top.
I didn't mind admiring these cute-sy ruffles in the meantime.


 After a light bulb moment, I decided to go with drop cloth.


Course, anytime I'm sitting on the floor, my trusty assistant, Cooper, isn't far from my side.
He obviously found something more interesting to look at outside.
Can't believe he's not gah-gah over these ruffles like I am ;)


 I decided to leave the outside edges exposed, showing the chippy & distressed wood.


 This look totally came about as I was working ... just trying out different ideas as I went along.


 And this is the winner!
I stapled on the burlap with the frayed edges on the outside.

burlap ottoman


 And for the final touch, back to the drop cloth.
I ruffled it & added it on top of the burlap.


 And I lovity LOVE it!
It was exactly the perfect finishing touch.


 The final product~

burlao ottoman

 I just love it.
I love the frayed edges.
Yep, I'm a shabby girl at heart.

burlap ottoman


burlap ottoman

The top of it, I think it's my fave!
Makes me happy, happy, happy.


Now, I have another ottoman {just like this one} that needs recovering just as bad.
As cute as this one turned out, I'm tempted to duplicate it.
The other one, however, is in the boys' loft ... 
& somehow I just don't think they'll appreciate these ruffles as much as I do ;)


~partying at Savvy Southern StyleThe Hankful House

Tuesday, March 19, 2013

DIY Moss Ball


Something about the pop of green just says SPRING!
The brown colorless winter is gone & new life appears when things start turning green.
Seems like we've been anticipating it a little extra this year, so tomorrow,
the first day of SPRING, can't get here soon enough.

In anticipation, I've been springing up the inside of the house!
Birds have appeared here & there, along with some burlap & twine, nests & eggs, tulips, & moss balls.
And that's what I'm going to show you today ... how to make your own moss ball.

I bought a bag of small moss balls last spring & wish I had bought 2 or 3 cause they are just so cute
& can be used anywhere, bringing the perfect pop of color & texture.

I haven't found those little ones again, so I decided to buy a bag a big bag of moss
& cover over a decorative ball that I already had & wasn't using.
It's a very simple DIY project that cost very little & only takes a few minutes.

Here's my large bag of moss ...


and my ball to cover.


I like it in it's natural state & have used it this way for years ... but it's ready for an update.
The only other thing you need for this project is a hot glue gun.


Apply glue directly to the ball & cover with moss, pressing firmly, one section at a time.
And lickity-split, you've got a beautiful green moss ball!


I decided to place mine in a vintage green footed bowl I've had for years, a flea market find.


This little potted pop of color is now brightening up my living room & I just love it!

Super easy DIY, right?


linking at Savvy Southern Style