Showing posts with label Crafts. Show all posts

Monday, December 9, 2013

Christmas Tree from Scraps & Burlap


I am in love with this little scrappy & burlappy framed Christmas tree!
I was feeling crafty & this is the end result.


Here's how easy it was:
First, choose your frame.
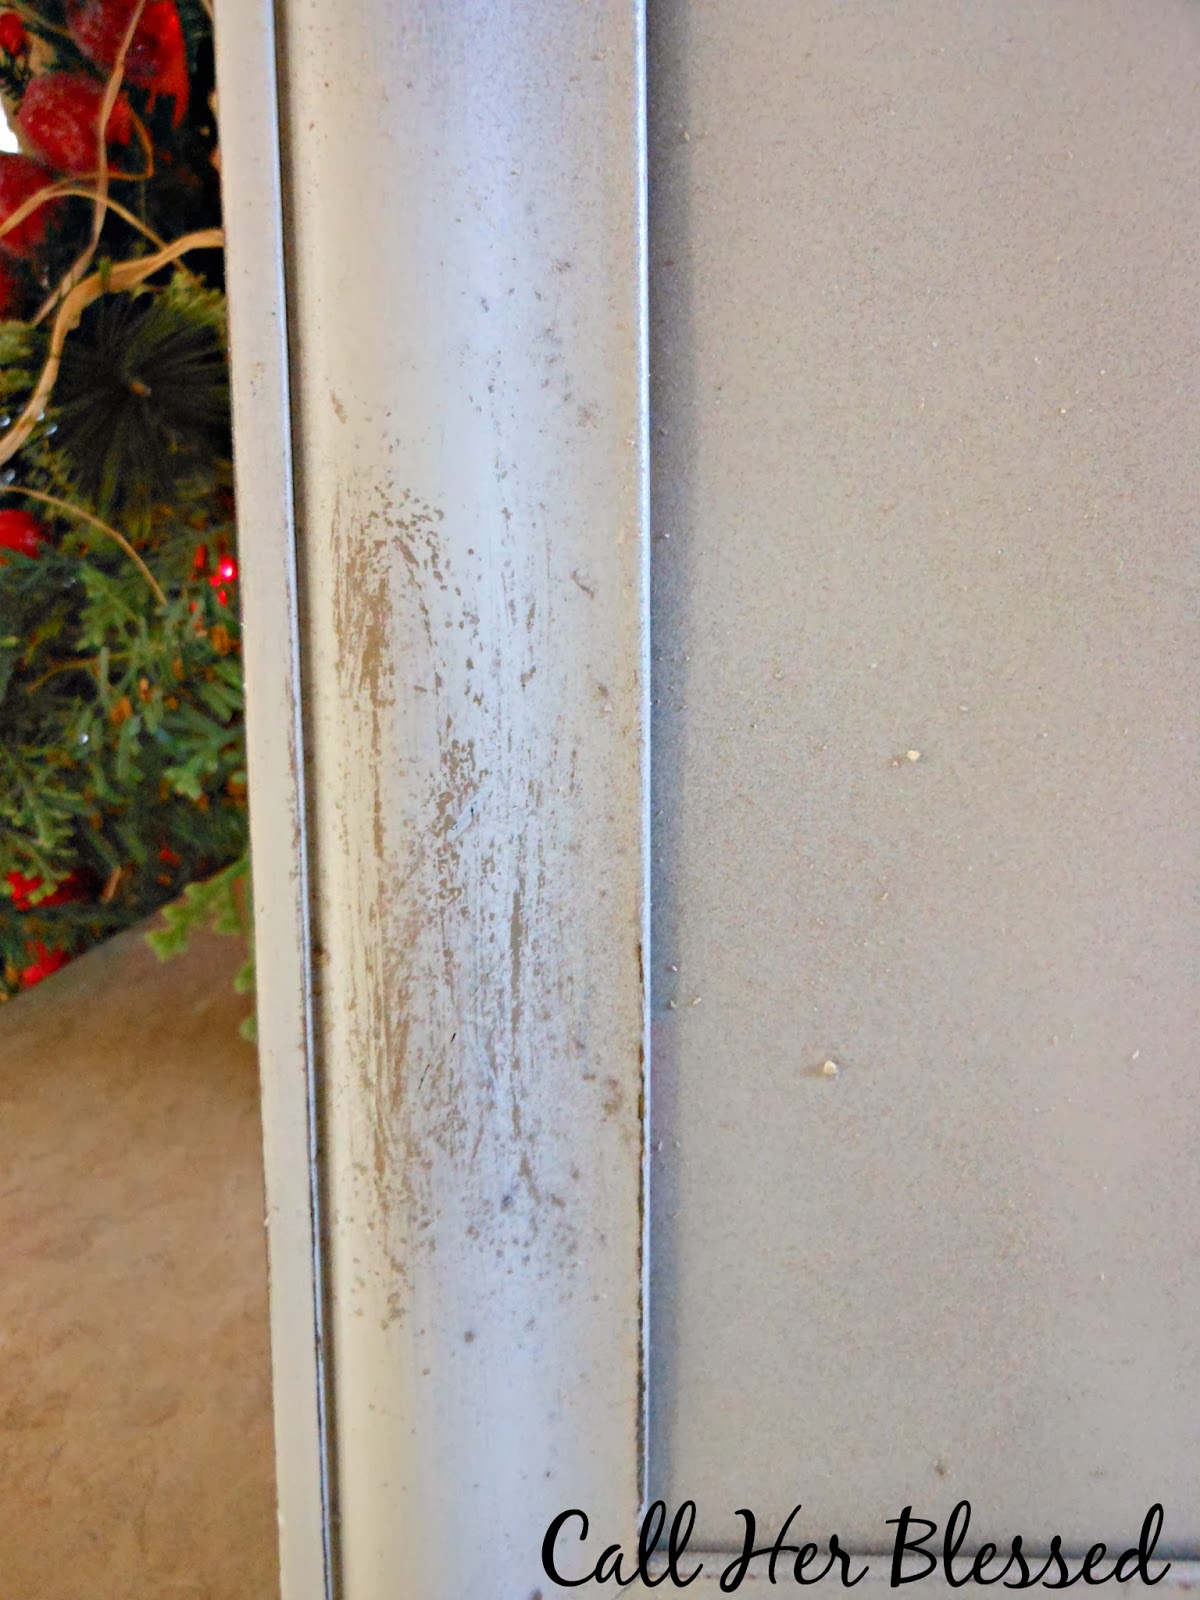
I started with one of the frames that I distressed with soap & spray paint.
If you didn't catch the easy how-to instructions for that on my previous post, check it out here.


Next, remove the backing & hot glue on whatever fabric you want for the background.


I decided to go with burlap.


Next you'll replace the frame & fastened it accordingly.
The glass isn't needed for this project, so do with it as you like.


Now to the choosing of the fabric for the scrappy Christmas tree...
I wanted to work with browns & tans, as I made this as a gift for my friend Jody.
I was inspired by the colors of her kitchen remodel & I thought she may want to sit this on her cabinet ledge.


I cut/tore my fabric into small squares, roughly based on the size I envisioned for the tree.


Finally, I began arranging them on the burlap until I got them just right, & then hot glued them on.
I glued just at the top of the fabric squares so the bottom would be loose, 
fluffing out to give some dimension.


And last but not least, every tree needs a topper!
And since rosettes {Shabby Bowtique} are what I do, it was a given. 
The addition of the brown feathers finished it off perfectly.


And you know what's great about this project?
You still have time to put one together before Christmas gets here!


~~~~~~~~~~~~~~~~~~~~~~~~~~~~~~~~~~~~~~~~~~~~~~~~~~~~~~~~~~~~~~~~~~~~~


Who doesn't love a party?!
You can find me here linking up with these great blogs.

Monday         Make It Yourself Monday        The Better Mom       C.R.A.F.T     
Tuesday    A Bowl Full of Lemons    Titus Tuesday      A Stroll Through Life
Wednesday   Raising Homemakers        Savvy Southern Style         Adorned From Above
                   Women Living Well    The Thrifty Home     A Wise Woman Builds Her Home
Thursday    Making Home Base      Serving Joyfully     Lamberts Lately
Friday     French Country Cottage   The Thrifty Groove      Farm Blog Hop
Sunday    Nifty Thrifty Things    Suburbsmama    Sew Many Ways

Saturday, December 7, 2013

Distressing Frames with Soap & Spray Paint

There are so many paint treatments out there these days.
Take a look on Pinterest & you'll find more options than you can shake a stick at.
I decided I'd give a few of them a try, starting with this one:
the bar of soap, sandpaper, & spray paint treatment.

I started with an odds & ends assortment of frames purchased at Goodwill.

After taking them apart, down to the frame only, I rubbed the bar of soap on the parts
of the frame where I wanted the original wood to show through.
By rubbing the soap on the frame, the paint kinda bubbles up & sands off very easily.

{This is similar to the vaseline paint treatment which I also tried on another project --
I am so behind on telling/showing you these things!  Bad blogger.
I'll show you soon, promise.}


After rubbing with the bar of soap, I spray painted my frames ...
& when they were thoroughly dried, I used a piece of sandpaper & lightly sanded here & there ...
especially where the soap was.
The paint just peels right off in those areas leaving a perfectly distressed look!


I love it.
And old, out-dated Goodwill frame given a new look.
And it's my favorite look, at that:  distressed shabby perfectness.


Stay tuned.
Tomorrow, I'll show you what I did with these frames after they were all painted.


~~~~~~~~~~~~~~~~~~~~~~~~~~~~~~~~~~~~~~~~~~~~~~~~~~~~~~~~~~~~~~~~~~~~~~~

Who doesn't love a party?!
You can find me here linking up with these great blogs.

Monday         Make It Yourself Monday        The Better Mom       C.R.A.F.T     
Tuesday    A Bowl Full of Lemons    Titus Tuesday      A Stroll Through Life
Wednesday   Raising Homemakers        Savvy Southern Style         Adorned From Above
                   Women Living Well    The Thrifty Home     A Wise Woman Builds Her Home
Thursday    Making Home Base      Serving Joyfully     Lamberts Lately
Friday     French Country Cottage   The Thrifty Groove      Farm Blog Hop
Sunday    Nifty Thrifty Things    Suburbsmama    Sew Many Ways


Monday, April 15, 2013

Easy Burlap Pennant Banner

Don't you just love all the versions & varieties of the little pennant banners that are all over the place?
I know I do.
I probably have 10 or more pinned on Pinterest.


I knew when I put together my spring arrangements that a banner was a must-have.
I wanted a very simple burlap one.
Here's how quick & easy it was.

I decided on the size pendants I wanted & I cut out a stack of them.
Super cinchy to cut out triangles.
A kindergartner could do it.


I gathered a piece of twine ... have I mentioned how much I love twine?
Twine & burlap.
They go together like wine & roses ... or cheese & crackers.
Guess it depends on how romantical you wanna get ;)


I ran a strip of hot glue at the top of the pennant & placed the twine right smack-dab in it.


My handy-dandy hot glue gun busy at work again.
Don't know what I'd do without that thing.


My work station:  the floor.
The old pink book doubling as a glue gun stand:  an upcoming project.
I'm ganna use the pages to make something oh so tre` chic ;)


I decided not to fold the burlap over the twine because that side will always face the wall anyhow.
So, I just patiently waited for it to dry before I moved it.


Couldn't be any simpler ... or sweeter.


I just love how whimsical it is.


Every old chippy window should be accessorized with burlap & twine, huh?!


 Doesn't take much to make me smile.


Hope your Monday is filled with a little whimsy & a lot of smiles.


Partying here & there:
Savvy Southern Style , The Hankful House

Tuesday, March 19, 2013

DIY Moss Ball


Something about the pop of green just says SPRING!
The brown colorless winter is gone & new life appears when things start turning green.
Seems like we've been anticipating it a little extra this year, so tomorrow,
the first day of SPRING, can't get here soon enough.

In anticipation, I've been springing up the inside of the house!
Birds have appeared here & there, along with some burlap & twine, nests & eggs, tulips, & moss balls.
And that's what I'm going to show you today ... how to make your own moss ball.

I bought a bag of small moss balls last spring & wish I had bought 2 or 3 cause they are just so cute
& can be used anywhere, bringing the perfect pop of color & texture.

I haven't found those little ones again, so I decided to buy a bag a big bag of moss
& cover over a decorative ball that I already had & wasn't using.
It's a very simple DIY project that cost very little & only takes a few minutes.

Here's my large bag of moss ...


and my ball to cover.


I like it in it's natural state & have used it this way for years ... but it's ready for an update.
The only other thing you need for this project is a hot glue gun.


Apply glue directly to the ball & cover with moss, pressing firmly, one section at a time.
And lickity-split, you've got a beautiful green moss ball!


I decided to place mine in a vintage green footed bowl I've had for years, a flea market find.


This little potted pop of color is now brightening up my living room & I just love it!

Super easy DIY, right?


linking at Savvy Southern Style

Wednesday, January 4, 2012

Homemade Gift Tags


Any DIY that I attempt to tackle is guaranteed super cinchy!
Rest assured, this one is no exception.

Now hopefully, since this particular blog is coming about a week late,
you haven't thrown out all the Christmas cards that you received in the mail!
If you have, just tuck this blog away for next year & you'll already have the jump on it.

All you need for this project are 4 things:
~Christmas cards
~scissors
~hole punch
~ribbon or string


Sort through the Christmas cards you've received throughout the season, 
choosing the ones you like best.
Cut out the image, hole punch the top & attach to the box/bag with raffia, string, or ribbon.


Here are a few others, various styles.