Thursday, March 29, 2012

Spring Flowers Everywhere

Something about spring ~ the sights, smells, & sounds.

Beautiful flowers are budding & blooming as all comes back to life.
The fragrance of those same flowers, sweet & fresh ... along with the cut grass,
removes all doubt that spring has sprung.

And nothing makes my heart happier than hearing those birdies singing.
I wanna throw open the windows so I can hear them louder.

Lately though, I've been most impressed with the beautiful flowers!
Thought I'd show you a few.

Here are the ones that started it all.


I was shopping at Aldi for groceries a few weeks ago 
& they had a huge rack of these gorgeous tulips.
So beautiful was this display that I pulled out my phone right in Aldi & started snapping pics!


In fact, these flowers got me so shook up that when I went to leave the store,
I tried to use my Aldi quarter to start my truck.
I.really.did.that.


So, when I was at Aldi this week, they had a whole new batch of tulips in ...
and guess what I did?!
I bought myself some!


That's right ... I am now the proud owner of these perfect yellow tulips.
I'm worth $3.99, right?!
 
I need to get them out of this yellow paper thingie, but I just don't think I have the right size anything to put them in!


Here's a look at what's coming to life in the front flower garden.
My crocuses popped up first ... & how I love them.
They're so delicate & so short-lived.
I have to keep my eye out for them so I can enjoy their fleeting beauty.


Here is one of my Dusty Miller bushes.
Believe it or not, this was one small plant from a flat that I bought a few years back!!


Here's something you may not know about Dusty Millers!
I've learned through the years that although Dusty Millers are sold as an annual,
{meaning you have to plant them each year & they do not come up on their own}
they act like a perennial ... at least mine do!
I do not pull them out or cut them down in the fall when I am cleaning out the beds.
I leave them be & they pretty much look the same throughout the winter.
When spring rolls around, there they are, looking as lovely as ever!
I prune any hard, dead stalks to make room for new growth.


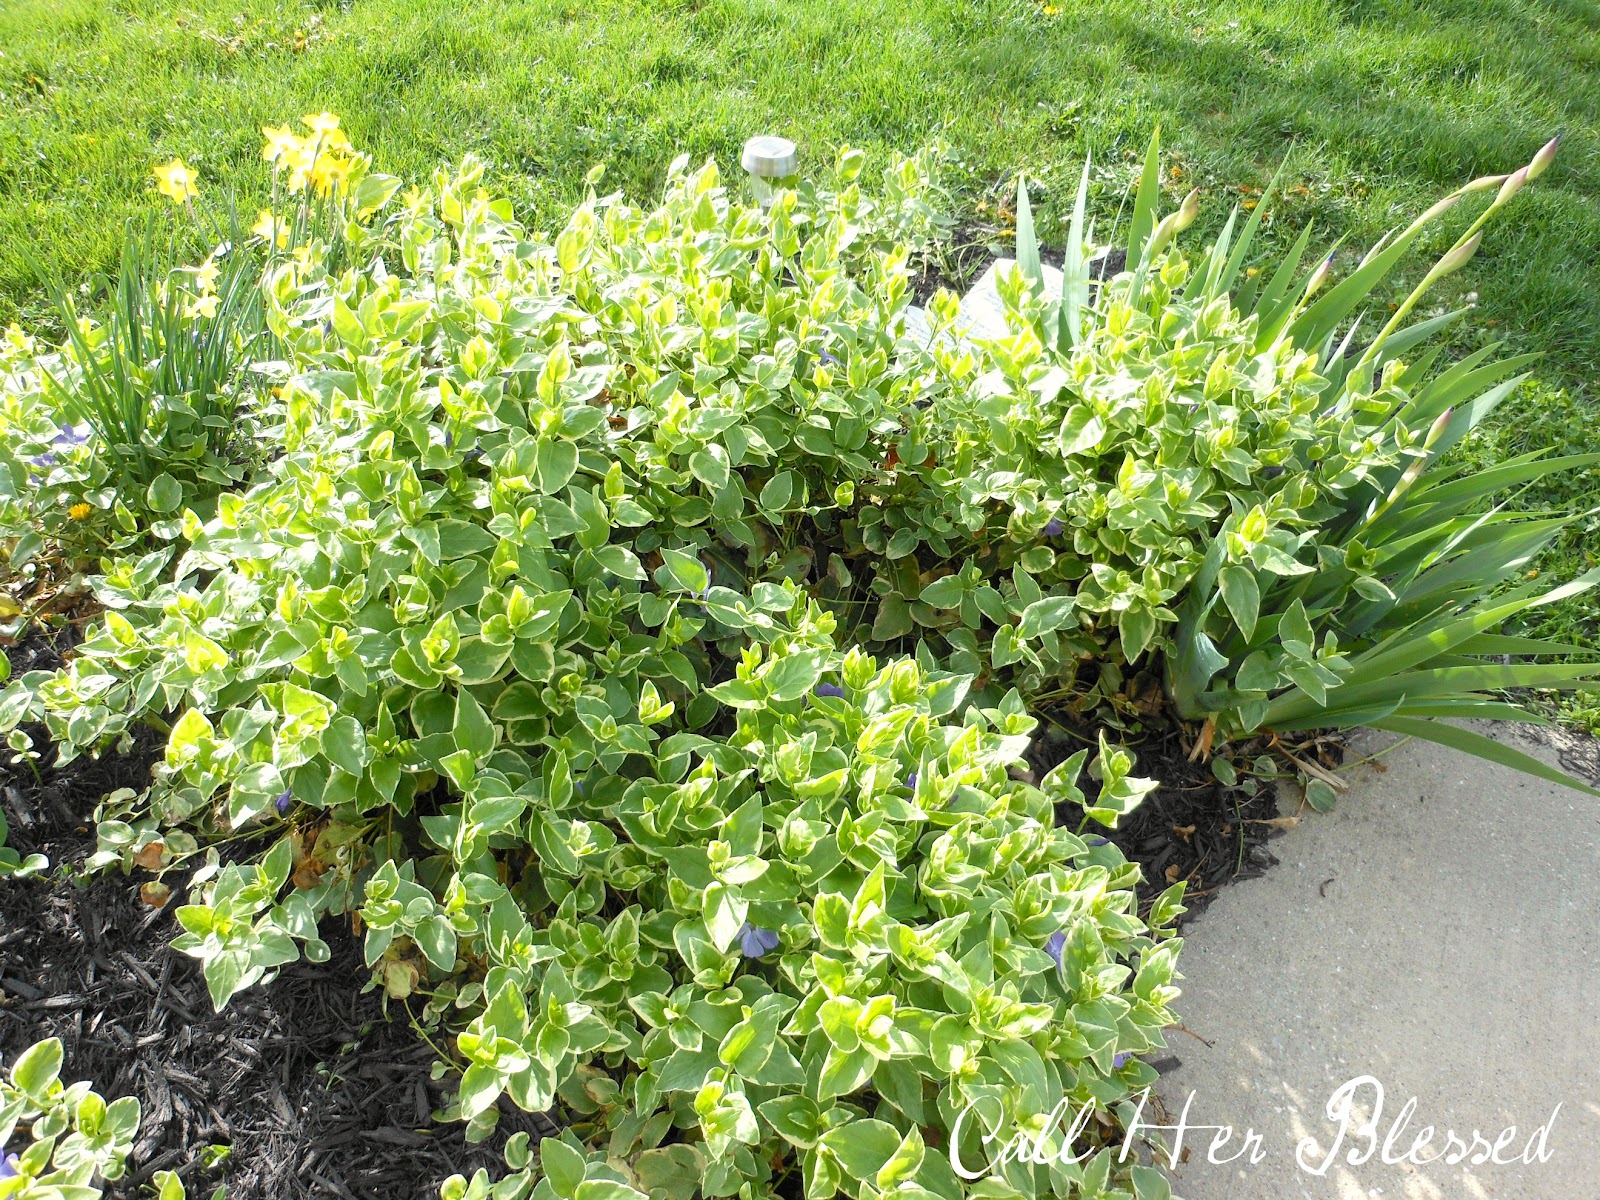
And for my favorite thing in the front garden:  my purple irises!


My sister gave me a start of these several years ago & they've multiplied.
What a great pop of color!

Those lil' yellow stinkers along the edge of the flower bed & have treated 
but are yet refusing to die ;)

I have mad love for my lil' dwarf Japanese maple tree.  I wanted one of these forever ... & James surprised me with this one for Mother's Day a few years back.


Last but not least, we're back in the house for this last flower.
My sons bought me this orchid planter for my birthday which was January 27th.
Look at how beautiful it STILL is!!


What I don't have a pic of is the new flower project.
I've planted some amaryllis bulbs in a planter ... a kit that was given to me as a gift.
I'm anxious to see if they will grow!
If so, I'll post a pic of them in bloom.

Flowers whisper "Beauty!" to the world, even as they fade, wilt, fall.  ~Dr. Sun Wolf

 Flowers have an expression of countenance as much as men or animals.  Some seem to smile; some have a sad expression; some are pensive and diffident; others again are plain, honest and upright, like the broad-faced sunflower and the hollyhock.  
~Henry Ward Beecher, Star Papers: A Discourse of Flowers

Flowers are the sweetest things God ever made, and forgot to put a soul into.  
~Henry Beecher, Life Thoughts, 1858

Wednesday, March 28, 2012

Homemade Flautas

Feeling like Mexican ...
but wanting something besides the usual suspects {tacos, nachos, enchiladas}?


Well, here's a must-try, very authentic recipe!

Don't buy a box of frozen snacks.
Make them yourself!
They are easy, quick & delicious.


What are FLAUTAS?

Flautas are flour tortillas filled with shredded meat {beef or chicken} 
that are deep fried to a crisp golden brown. 
Another popular favorite: taquitos.
The only difference, a taquito is made with a corn tortilla instead of flour.


Here are the ingredients:
2 cans of roast beef in gravy, 16 small-medium flour tortillas, salt, salsa, shredded cheese, oil


Place 2 Tbsp. of beef & 1 tsp. salsa into tortilla.
Roll tightly & place seam side down.
Do not overfill!


Heat oil in large skillet & place flautas in, seam side down.
Fry over medium heat for approximately 2 minutes on each side, or until golden brown.


Place on paper towels to remove excess oil.
Sprinkle with salt while hot.


Top with shredded cheese & serve immediately while they are hot & crispy!


Note:
This is the quick-cooking recipe.  
If you have more time & want to make a larger batch of flautas, 
shred a beef roast that's been cooked in the crock pot.
Use this instead of the canned beef & gravy.

Tuesday, March 20, 2012

Our Weekend in Pictures {fish fry}

A successful fishing trip

James & his good buddy, Chris, sure caught a nice mess of fish Saturday morning ~ 40 in total!

There's ganna be a fish fry!

James cleaning the fish with his new electric knife
James did all the shopping for these goodies ... he wanted wings to serve with the fish!

Frank's & Sweet Baby's ~ necessary condiments for wings around here
James bought a new fryer especially for this evenings fish fry!  He's had his eye on this one for a while.

fresh fish & chicken wings waiting to hit the hot oil

James is responsible for this whole fun evening!  The ONLY thing I did was make the hushpuppies. 

batter for the hushpuppies
oh.my.word.  These lil' babies were delish!  Stay tuned for the recipe!
Wings ~ BBQ & Plain

Aren't these 2 adorable?  Garrett & Carissa~
Jody, Codey & Gunnar

  Chris is the other fisherman responsible for all the fish that we had for supper.  {On a side note, someone should've ironed the tablecloth!}
Gunnar hiding from the camera
Riley Cole

What a way to enjoy this unseasonably wonderful MARCH weather!!
We ate a de-li-cious meal & the fellowship with our sweet friends was the icing on the cake.
We capped off the evening by building a fire in the fire pit.
Our new neighbors, the Barnett family even stopped over for a while.

I think the best medicine for the whole evening, however, was the laughter.
We laughed til we cried nearly the whole evening through.
My face was literally hurting by the time the evening was over.
When everyone was gone, Riley summed it up when he said, 
"Mom, tonight was sooo much fun!"


Fishing is much more than fish. It is the great occasion when we may 
return to the fine simplicity of our forefathers.
Herbert Hoover

But friendship is precious, not only in the shade, but in the sunshine of life, 
and thanks to a benevolent arrangement the greater part of life is sunshine.
Thomas Jefferson


Thursday, March 15, 2012

Lemon Wafer Cookies

I am a Kroger shopper & one of the many things I like about Kroger
is their own line of products.
I often find that the taste of the Kroger-brand products is better than the 
national brand.
Couple that with the lower price & it's a 'win-win' situation!

For the last little while, I kept noticing these lemon wafers sitting right by
the vanilla wafers every time I was in the cookie aisle. 


I lurve lemon-flavored anything, so naturally, these peeked my interest.
I kept finding myself thinking 'hmmm, wonder what I could do with these?' 
besides the obvious ;)
After pondering this weighty matter for a week or two, this little box of cookies 
found their way into my cart.

They were no disappointment, to be sure ...
& it would've been no trouble to munch away on these lemony cookies, 
well, til they were gone, but I had schemed up a little experiment for these guys. 


I decided to make lil' sandwich cookies with a lemon icing filling.
I know ... & as if that wasn't enough, I decided to cover them with white chocolate!
Let me tell you, these turned out just great!


Here's how it all came together:


Lemon wafer cookies, icing, lemon extract, & candy coating are the necessary ingredients.
I added about 2 capfuls of the extract to the vanilla icing to make it lemony.


Put a smoodge of the lemon icing on each cookie & top with another, making a sandwich.


After putting the cookie sandwiches together, melt the candy coating in the microwave
following the package directions.
I especially like the Kroger brand of this candy coating too.
It comes in it's own microwavable tray & is very easy to work it.


Dip each cookie in the candy coating & place on wax paper to cool.


I decided to give these as gifts, so I packaged them up in these adorable boxes.


You could sprinkle some yellow coarse sugar as a decorative topping ...
or even a bit of lemon zest, if desired.
Just make sure to do that before the chocolate has set so it will stick.


Isn't it fun to get in the kitchen & try something new?!