Tuesday, December 18, 2012

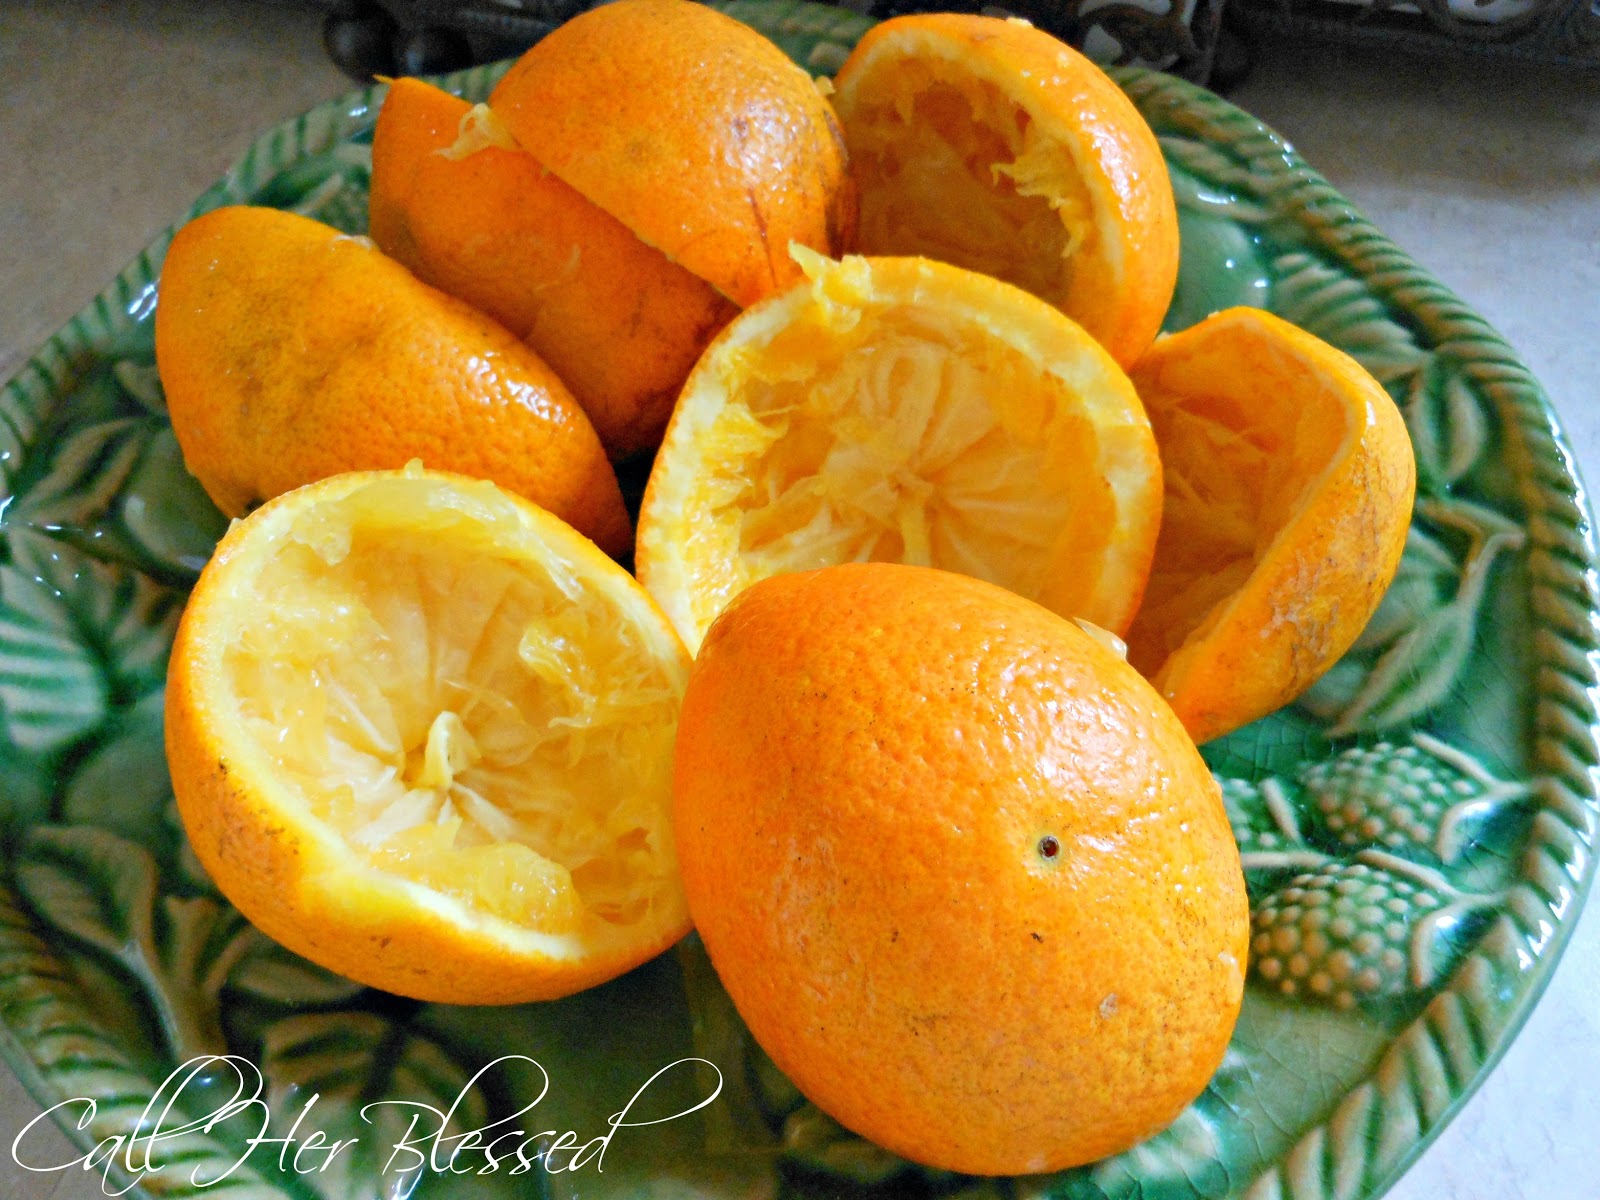
Orange Peel Potpourri


Tis the citrus season.

A couple weeks ago, I bought my 1st huge box of navel oranges.
{Yes, I've bought oranges lotss of time, just not a ginormous box of them!}

It instantly took me back to my childhood.
Dad would buy a big box of oranges from the local high school band when they'd come by
selling them door-to-door.
He'd keep the box in the bedroom closet where it was dark & cool.
They were the best oranges.

I bought mine from Florida citrus seller that came to our area selling the boxes straight off the truck ...
& they did not disappoint.
The oranges are so sweet & juicy.

Now, on to the potpourri.

My hubs decided to juice several of these to surprise me with a big ol' glass of fresh-squeezed OJ
the other morning.
When I saw the pile of orange peels, I decided to throw them in a pot to boil.


 I added in a couple spices from the cabinet.


Let me tell you, I had NO idea the goodness that would waft forth from that little pot!
And for days!!
I have boiled these for several days & they almost look like they are candied, at this point.
My kitchen smells uh-mazing!


I simmered these on low, adding water throughout the day as it cooked down.
At the end of the evening, I put the cooled kettle in the fridge & pulled it out the next morning
to simmer all over again.

I'll probably toss this out this evening.
I'll like putting the peels of any citrus through my garage disposal.
Cleans it & makes is smell so good.

And tomorrow morning, I'll start a whole new fresh batch.
{I've been keeping peels in a plastic storage container in my fridge.}

You have got to try this.
Especially at this time of year, this easy orange peel potpourri will make your kitchen
whole house extra cozy.

Easy Orange Peel Potpourri
orange peels {1 or 4 ... it doesn't matter how many}
spices {I used about 1/2 a teaspoon of cinnamon & nutmeg -- you could variate here
w/cloves, nutmeg, etc}

Place above ingredients in small kettle & cover with water.
Simmer on low, adding in water as it cooks down.

You could add in cinnamon sticks instead of ground cinnamon.
You could even throw in cranberries.

Very versatile ... very wonderful.

Thursday, December 13, 2012

A Crock of Christmas ~ Details

Hmmm, I say, as I'm looking around the house.
What can I put my tree into? 
My crock! 
I think YES! 


And that was precisely how this new favorite came about.


My kitchen tree was already up & decorated, mind you, when I had this light bulb thought.
This resulted in some very careful finagling by James & the boys.
The base of this tree was a metal rod & plate screwed into the tree .... waaaaay up into the tree.
So, we tilted the tree over on the counter a bit, held on tight, & the guys took turns carefully
unscrewing the base.
Finally, after lots & lots of unscrewing, it finally came off.


We sat the tree down inside & I stuffed pillows tightly around it to keep it upright.
The red checked fabric is what covered the base originally & again makes the perfect addition.


The tree has a strand of red lights & a strand of multi-color/function lights.
It's decorated with an odds & ends assortment of ornaments.
Several were made by the boys when they were small ... & some I made when I was in grade school.
So glad my mom kept all those & has now given them to me to use.

Here are some of my favorites.
I love mittens & this strand of sugary berries garland.


One of my favorite tricks to make an artificial tree look more 'real' ... 
I add sprigs of various greenery & berries to my Christmas trees.
I love the contrasting textures & shades of green.
This is a long garland of berries that I've woven along the front of the tree.


Isn't this old-fashioned red union suit great? 


I added red checked bows to the top of some of my ornaments.


And an apron is a must-have on a kitchen tree!


I have several of these primitive lil' snowmen.


I love this crazy-bearded Santa =)


This tree has several gingerbread men ... even a 'snow' gingerbread man!


This one I love ... a cookie sheet full of adorable gingerbread boys & girls.


 And for the topper, a bird's nest.


Several years ago, my sweet friend Paula gave me this bird's nest at Christmas time.
The card inside told of an old German legend.
It said if you find a bird nest in the tree you harvest for Christmas, 
you will have an entire year of health and happiness.
So, in the spirit of the legend, you should tuck the nest into one of the branches of your tree with all the best wishes of the old legend.
I have used it as a topper every year since.
                                 I added a large branch of greenery behind it for some height.


Cooper by the tree ... one of his favorite hang-outs.


Hope your kitchen is filled with the things you love this Christmas!

~
 
Merry Christmas from my kitchen to yours.

Wednesday, December 12, 2012

A Crock of Christmas


My newly acquired crock as a new purpose this Christmas season ...
 & I'm pretty sure I'm in love.


Come back tomorrow.
 I'll share details & show you the whole tree.

Merry Christmas
from Call Her Blessed~

Tuesday, December 11, 2012

Meijer Freebies


I haven't been die-hard {grocery} couponing lately for a few reasons.

1 -- It's over-stock . com around here in the HBA department!
I've got more razors than you could shake a stick at, so I've somewhat taken a chill pill.
I'm still doing CVS & rolling my bucks, but only on items that I really need.
Free or not, no more razors & deodorant til my stock is gone ;)

2 -- During the busyness of the Christmas season,
I don't spend as much time on matching coupons & deals.
I just don't want to spend the extra time in this area.
I try to be well-stocked on pantry/freezer items so when I do go to the grocery,
it's not for a mammoth food haul.

On Thursday, I went to Meijer {their deals were best this week}.
All the pictured freebies came from there.
The deals run through tomorrow, so you still have a chance to get grab these.

I particularly liked the Campbell's soup deal.
The chicken noodle & tomato soups were .59 a can ...
& when you buy 5 cans, you get a box of Meijer crackers for free.
I wasn't sure how many times you could do this, but I did it 4 times, all in one order.
I needed to stock on soup.

The bread {that I forgot to put in the pic} was free for buying 2 pkgs of cheese.

The conditioner & toothbrushes were on sale ... & matched with a coupon =  free!

{A friend recently shared a recipe with me for homemade fabric softener using this scent of Suave.
I got these specifically to try it out. 
I'll blog the recipe if it works out.}

Each freebie in my cart means me paying less at the register.
That, I like!

Hope you are wheelin' & dealin' this Christmas season too =)


Monday, December 10, 2012

Whatever you need, God IS.

I woke up this morning needing direction.
Ah, who am I kidding, I went to bed needing direction.

I formulated my list yesterday of blogs & books I would read... 
& 'experts' I would contact, pretty confident that I would get some answers 
from these sources.
{And I'm still confident that I'll get some answers cause that's just how 
the body of Christ works!}

But I opened up my Bible to read this morning ... & herein lies the game changer.

The first scripture that I opened to & read was Psalm 32:8.
Here is what it says:

"I will instruct thee and teach thee in the way which thou go:
I will guide thee with mine eye."

Oh my goodness, people!
I LOVE it when God speaks direct ... 
& I'm pretty sure you can't get any more direct than that!
My mind was racing.
I was having one of those moments when I feel very aware of God's presence.

I scurried to my ESV.
I could hardly wait read it there.

Here's how it reads:

"I will instruct you and teach you in the way you should go; 
I will counsel you with my eye upon you."

Goosebumps ... I'm not ganna lie.

By now, my laptop is open as scriptures {promises!} are flooding my mind.
I began to look them up & encouragement is quickly sweeping over me.

I went to 2 Timothy {3:16-17}.

"All Scripture is breathed out by God and profitable for teaching, 
for reproof, for correction, and for training in righteousness, 
that the man of God may be competent, equipped for every good work."

These scriptures are here for ME!
They are here for me to be trained & taught ... so that I can be competent 
& equipped for every good work!
Wow.

I'm so grateful that we can turn to God's Word, our authority, & always find answers!

I'm reminded of the words to my favorite hymn.
It says 'All I have needed, thy hand has provided ... great is thy faithfulness, Lord, unto me!'
Whatever I need ....

In my case, I'm needing direction ...but you, dear friends, may be needing something 
entirely different from the Lord at this very moment.

You may need peace in your mind or in your home.
You may be praying for a healing to take place in your body.
You may be asking God to repair a broken home or relationship.

This I know for sure:  Whatever you need, God IS.

This saying has been a source of strength to me for years & I have repeated it 
to myself more times than I could count.

Whatever I need, God is.
He always is.

No matter our circumstance, the Word says that 'despite all these things,' 
we are made victorious through Christ, who loves us!
{Romans 8:37}

This hasn't been a typical Monday morning.
His presence has been so real & strong .. & my spirit has been comforted.
This Monday morning, I've encountered God.

Tuesday, December 4, 2012

Peanut Raisin Bark


This recipe could NOT be any simpler.
Aren't those the kind we all like?
And for me, this one brings back childhood memories.
My parents would often buy the bagged Brach's candies ... the chocolate covered peanuts & raisins.
Course, we didn't eat those without an ice cold Coke, the kind that came in the glass bottles!
Ah, the good ol' days.
I took my parents a container full of baked goodies a few weekends back.
There were homemade truffles, rice krispy treats dipped in white chocolate, & this bark.
You know what's funny?
Mom called to tell me that it was the bark that Dad couldn't stay out of! 

It's quick, easy, & only 3 ingredients.
Here's the recipe:

Peanut Raisin Bark
1 pkg. chocolate bark {24 oz}
2 cups peanuts {w/o skins}
1 1/2 cups raisins


You can adjust the peanut & raisin amounts a smidge, if you prefer more or less of one or the other.

Melt the bark in the microwave, stirring every 30 seconds.
It will take maybe a minute or two to completely melt the bark.

Quickly add in the peanuts & raisins & stir to coat.

On a wax-lined cookie sheet, pour the mixture & smooth out.
It'll be about a 1/2 inch thick.

Just cause I wanted it to look extra pretty,
I sprinkled a handful of peanuts & raisins on top while the chocolate was still warm.

Chill bark until firm {a couple hours will do it}.
Break or cut into chunks.
This delectable treat can be stored in the fridge for a couple weeks, but trust me on this one,
it will never last that long ;)

*I purchased all my ingredients at Aldi.
Their bark, white & milk chocolate, is excellent to work with.


Monday, December 3, 2012

Simple Christmas in the Dining Room


Thinking back to when my 3 boys were just little guys
{the twins are turning 18 in a few weeks & Riley is 15},
I was one busy momma, let me tell ya!
Keeping up with daily chores was a formidable task, not to mention factoring in extras ...
like decorating for the holidays.
But you know what?
I put up 5 Christmas trees every.single.year!
One in the living room, one in the family room, & one in each bedroom.
I look back now & wonder how in thee world did I do it!!
Guess I was younger & had more energy ... ?
I don't know, but I can tell you one thing, I don't do that now!
I still love Christmas ... in fact, you'd have to look hard to find someone who gets
excited over all of it more than me.
Seems though as I am getting older, living simple is my main theme ...
& it carries through right into my holiday decorating.
Now, some of you may look at my blog, my decor, etc, & you may think that this isn't simple living.
If you knew me before though, you know I've simplified my life a million times over.

Over the next few weeks, I'll show you our home, all decorated for Christmas.
I'll show you where I've simplified & how I've not spent a penny, only using decor that I already had.

Let's start with the dining room.
I had no set decor plan or vision, other than using the same tray & lantern
that I used for my fall tablescape.
I simply opened the china cabinet, & from my existing stash, I started pulling it together.
I've used these creamy white place mats for 3 seasons now.
I wanted quilted mats forever & found these at Walmart.
They have poinsettias embroidered in the pattern.


On top, I used my creamy white Homer Laughlin plates that I purchased at Goodwill in the spring.
Paid a whole .49 each for them.
Next, I decided to use my silky crimson red napkins without rings, placing a pine cone on top.
Simple.
Just what I was going for.


On my tray, the lantern is the star of the show.
The star is tied on with twine, just as I had it for fall.
I added a spring of pine greenery, complete with pine cones.
The inside is filled with pine cones & Christmas potpourri.
I arranged three wooden candlesticks, along with a pine cone or two to complete the tray.
{I'll tell you about the brown Christmas balls in a minute.}


Here it's pictured with my little Glade candle =)
We light this candle each night at supper time.


After I had the settings & centerpiece arranged, I felt like it still needed a little something.
So, back to the china cabinet I went.
I decided on a brownish fabric {it's actually a curtain panel} that I picked up at Goodwill in the spring.
I paid .99 for it & have never used it as a curtain {& probably never will}.
With it, I used a garland of brown Christmas balls, making a table runner, of sorts.
It was the perfect finishing touch.


I tied one of these same red napkins to each end of the garland/fabric combo.
I have to say ... I think I have a new favorite color scheme!
Brown, red, & cream looks stunning together!


The natural tones from the pine branches & cones paired with the quilted mats is beautiful simplicity.


All in all, this look sums up my style.
A little rustic, a little fancy, a little unexpected.
It's a blending of styles to create a balanced look, not going overboard in one direction or the other.


I chose not to decorate our stair railing this year, so I had plenty of pine garland to use in new places.
Here, it spruces up our lighting!


And for the blue cord you see at the top left, Grrr!
It's the ethernet cord running from our office to the loft {we have some online gamers here}.
It's a constant here, so I look right past it, but wish I hadn't cause it kinda messes up my pics! lol
Ah well ... here's to keeping it real.


I only used 6 place settings, just to be different.
I like the look.


I love our dining room.
We eat supper & have family worship here every night ...
& we school here everyday ... well no school on weekends, of course.


This is looking to the kitchen, which I'll show you next.
Our kitchen Christmas tree is the favorite of all the guys in this house.
I'm super excited about what we put the tree inside of!


Hope you've enjoyed my simple Christmas in the dining room.
Come back & visit again soon.

Blessings~

place mats {Walmart}, plates & panel {Goodwill}, napkins {Old Time Pottery}
tray, candlesticks {flea market}, pine cones {Meijer}, ball garland {Marshall's}
pine garland {Hob Lob}, antique wire napkin basket {flea market}